AI Publisher Documentation
Your complete setup, configuration, and usage guide for the AI-powered WordPress content generator.
This documentation walks you through installation, content strategy configuration, keyword research, post generation, scheduling, and social-share content generation, everything you need to run the plugin inside WordPress.
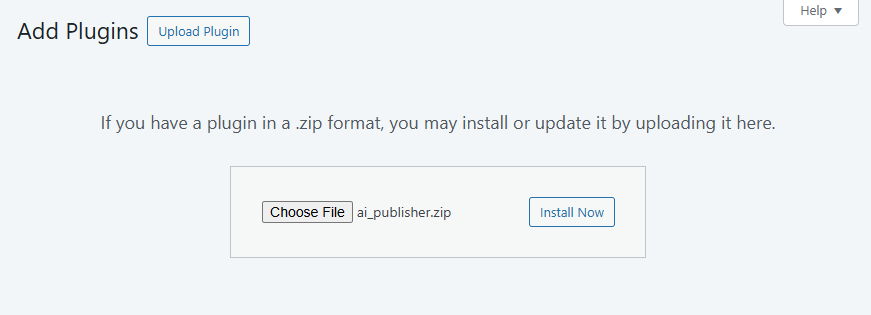
Install AI Publisher on Your WordPress Site
To get started with AI Publisher, log in to your WordPress dashboard and go to "Plugins" > "Add New." Upload the AI Publisher ZIP file, click "Install Now," and activate the plugin. Once activated, you’ll find AI Publisher in your dashboard menu, ready for setup and content creation.
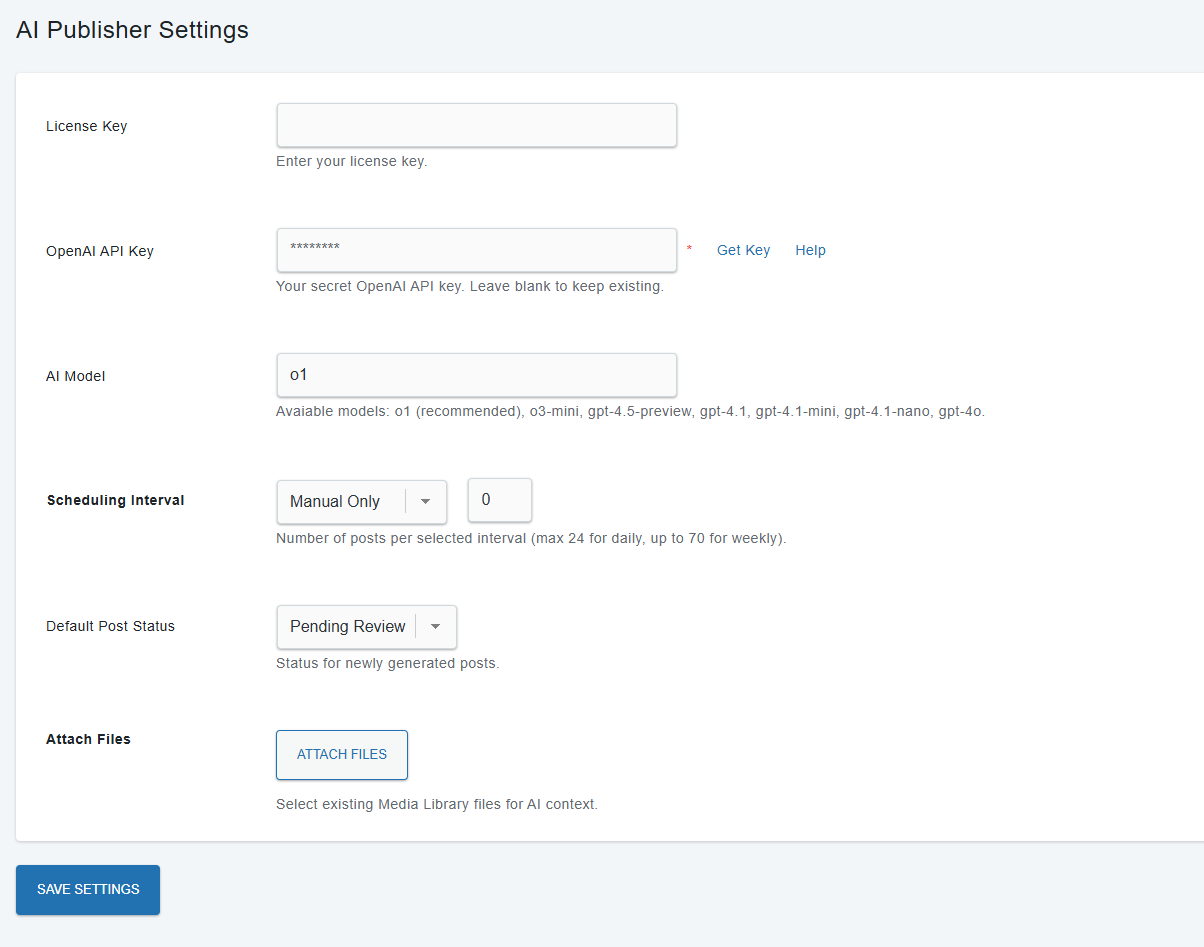
General Settings
Configure AI Publisher to match your workflow and content needs. Go to AI Publisher → General Settings and complete the following fields:
-
License Key
Enter the license key you received with your purchase to activate AI Publisher. -
OpenAI API Key
Paste your OpenAI API key here. This unlocks access to advanced content generation. (If you don’t have a key, click “Get Key” for instructions.) -
AI Model
Choose which AI model to use for content creation. The default iso1(recommended), but you can select from other supported models listed below the field. -
Scheduling Interval
Decide how often you want new posts to be generated.
- Select Manual Only to generate posts on demand, or choose Daily or Weekly for automatic scheduling.
- Set the number of posts per interval (up to 24 daily, 70 weekly).
-
Default Post Status
Choose the initial status for all newly generated posts:- Draft
- Pending Review
- Private
- Published
-
Attach Files
Add PDFs or text documents from your Media Library. These files will be used by the AI for context, helping tailor your generated content.
After entering your information and adjusting the settings to your preferences, click Save Settings to activate your configuration.
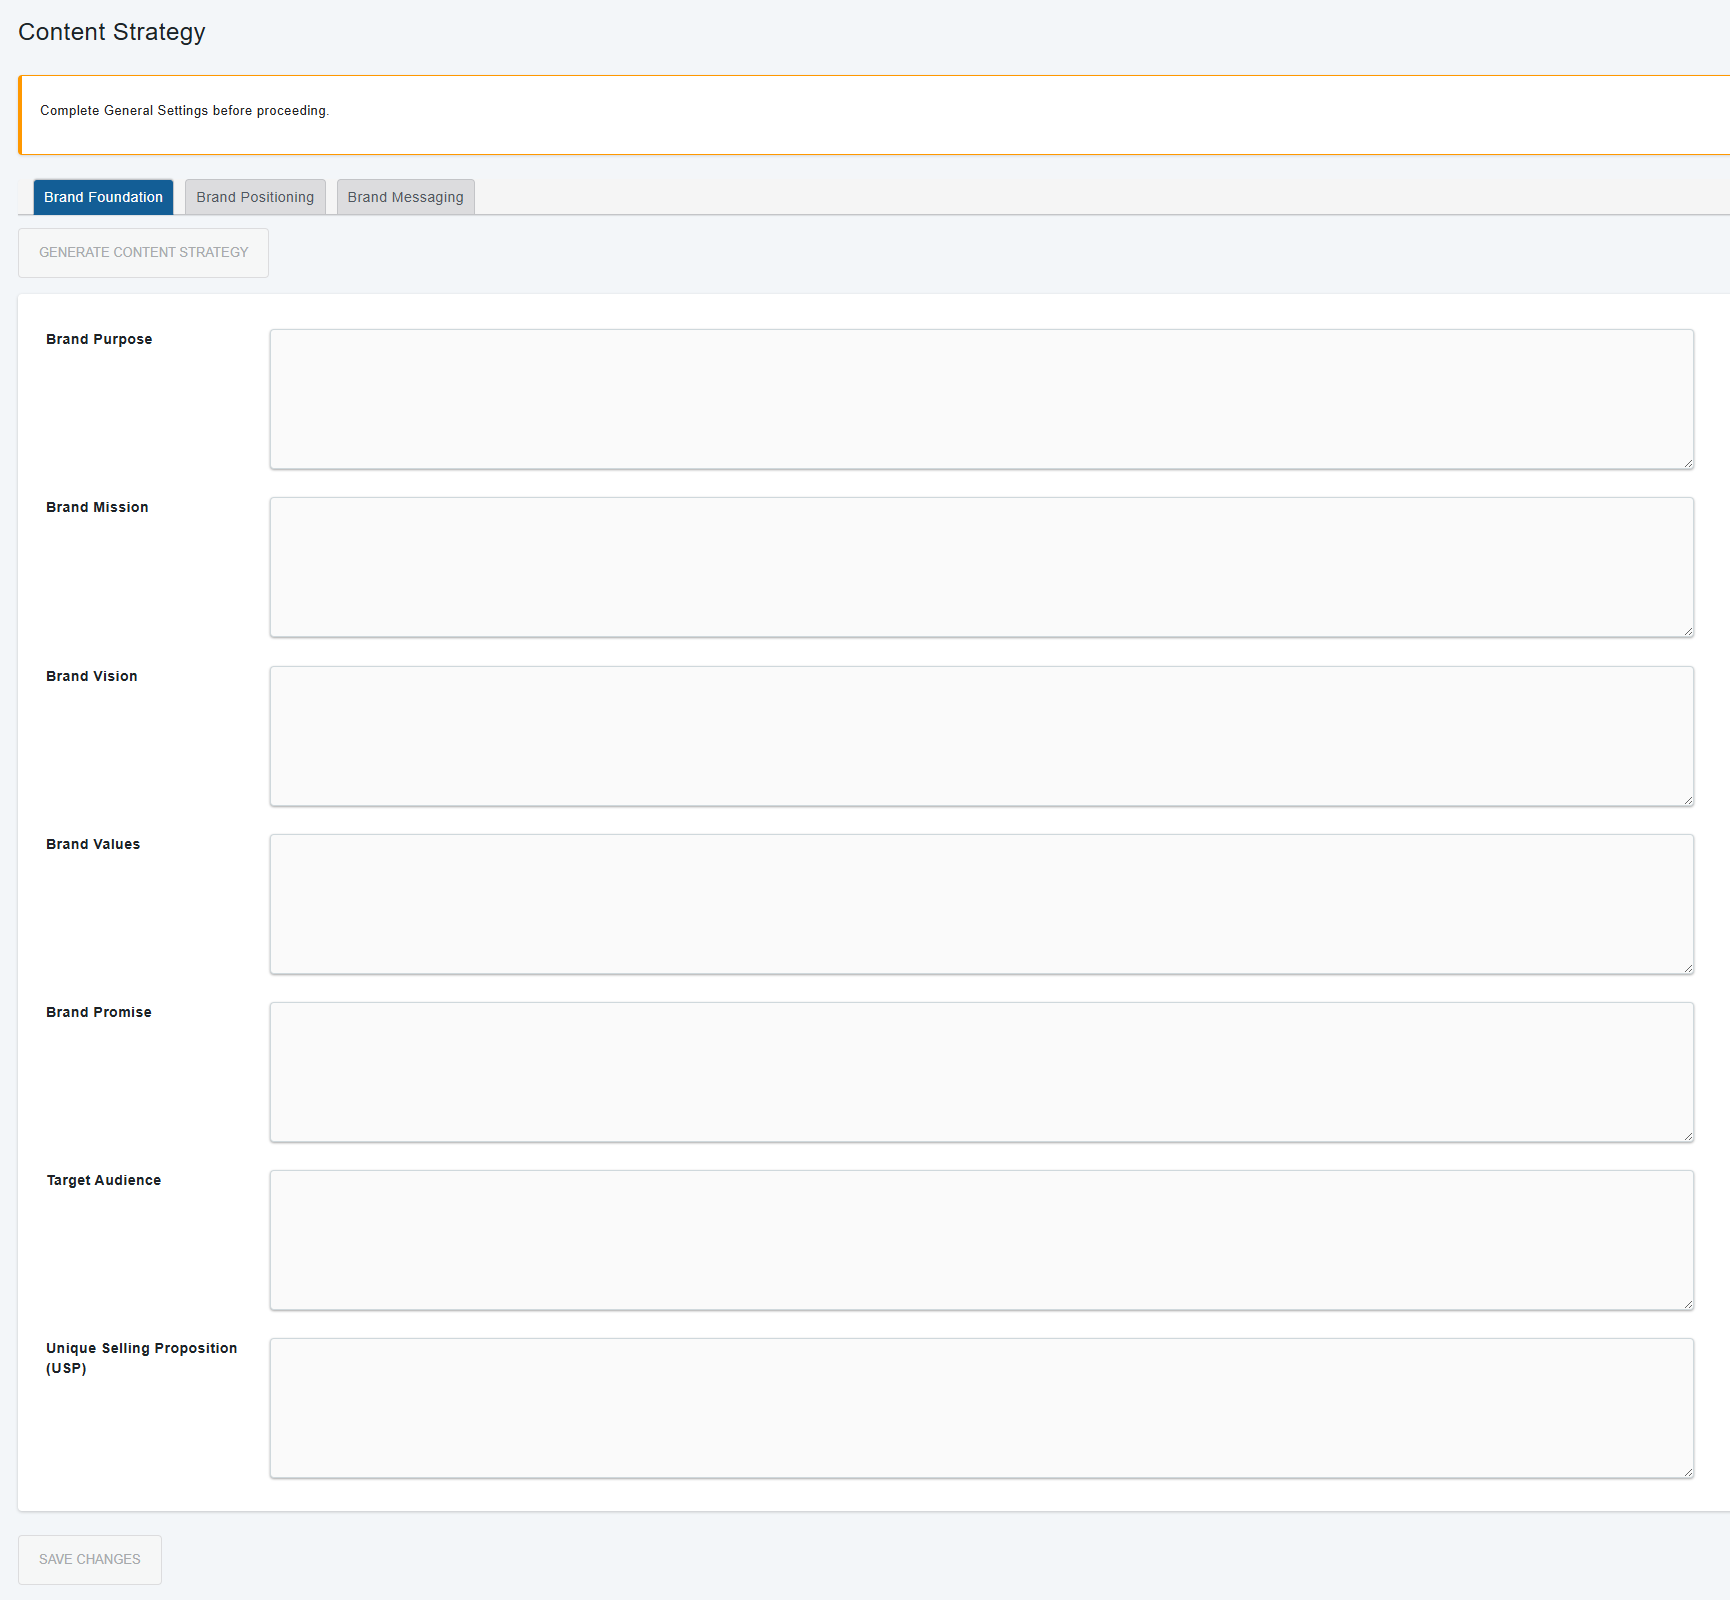
Content Strategy
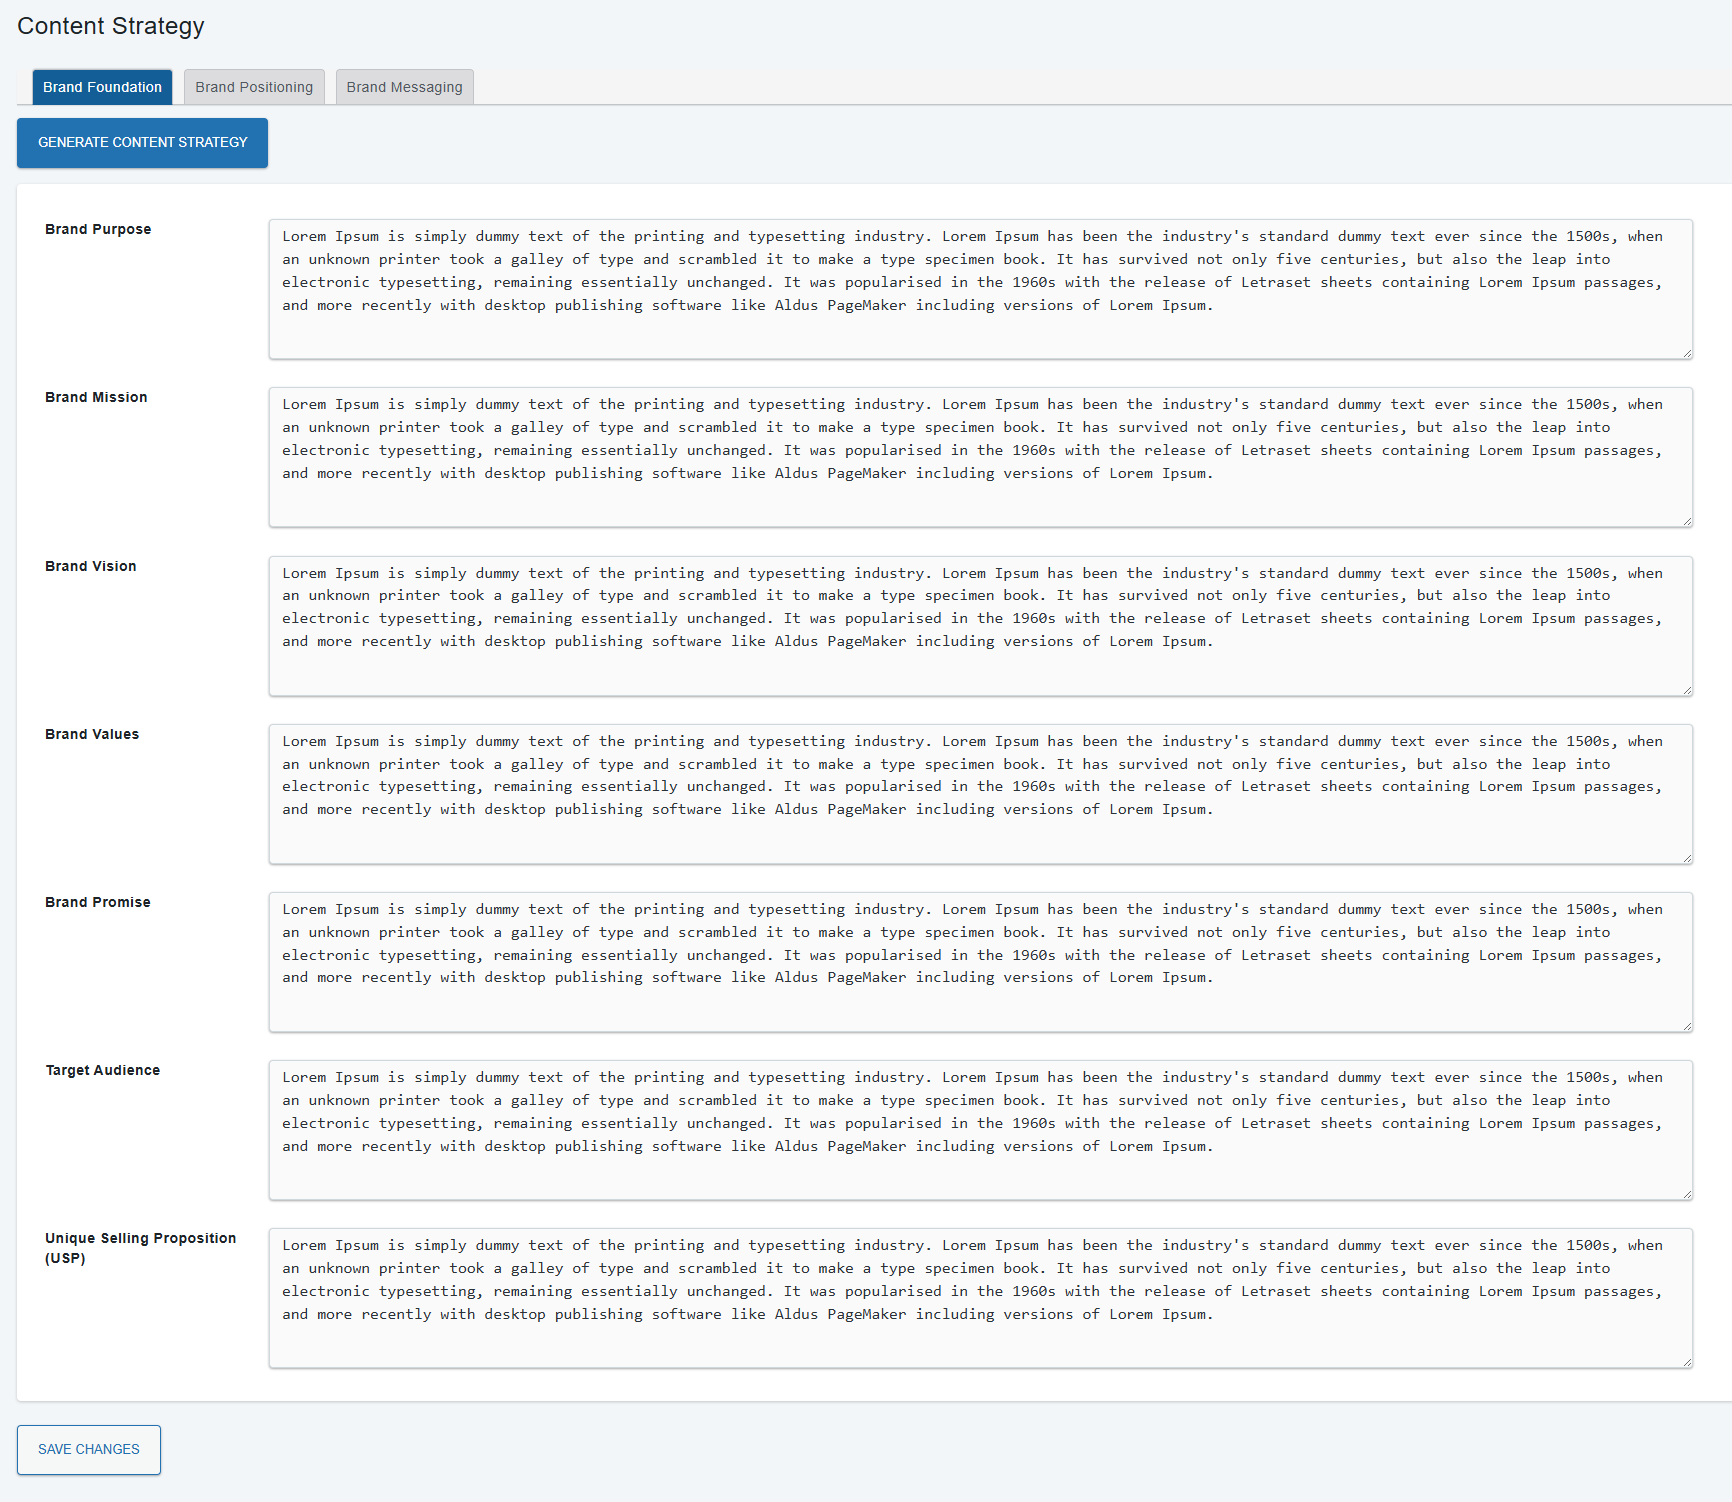
After you’ve saved your General Settings, you are automaticly redirected to the Content Strategy section. Click Generate Content Strategy to start the process. Fields will begin to fill in with AI-generated responses. You can start reviewing and editing as soon as the first responses appear.
Make sure every field, Brand Purpose, Brand Mission, Brand Vision, etc... is filled in. Carefully review and fine-tune all responses to match your brand.
Once all fields are completed and you’re satisfied with the content, click Save Changes to store your content strategy.
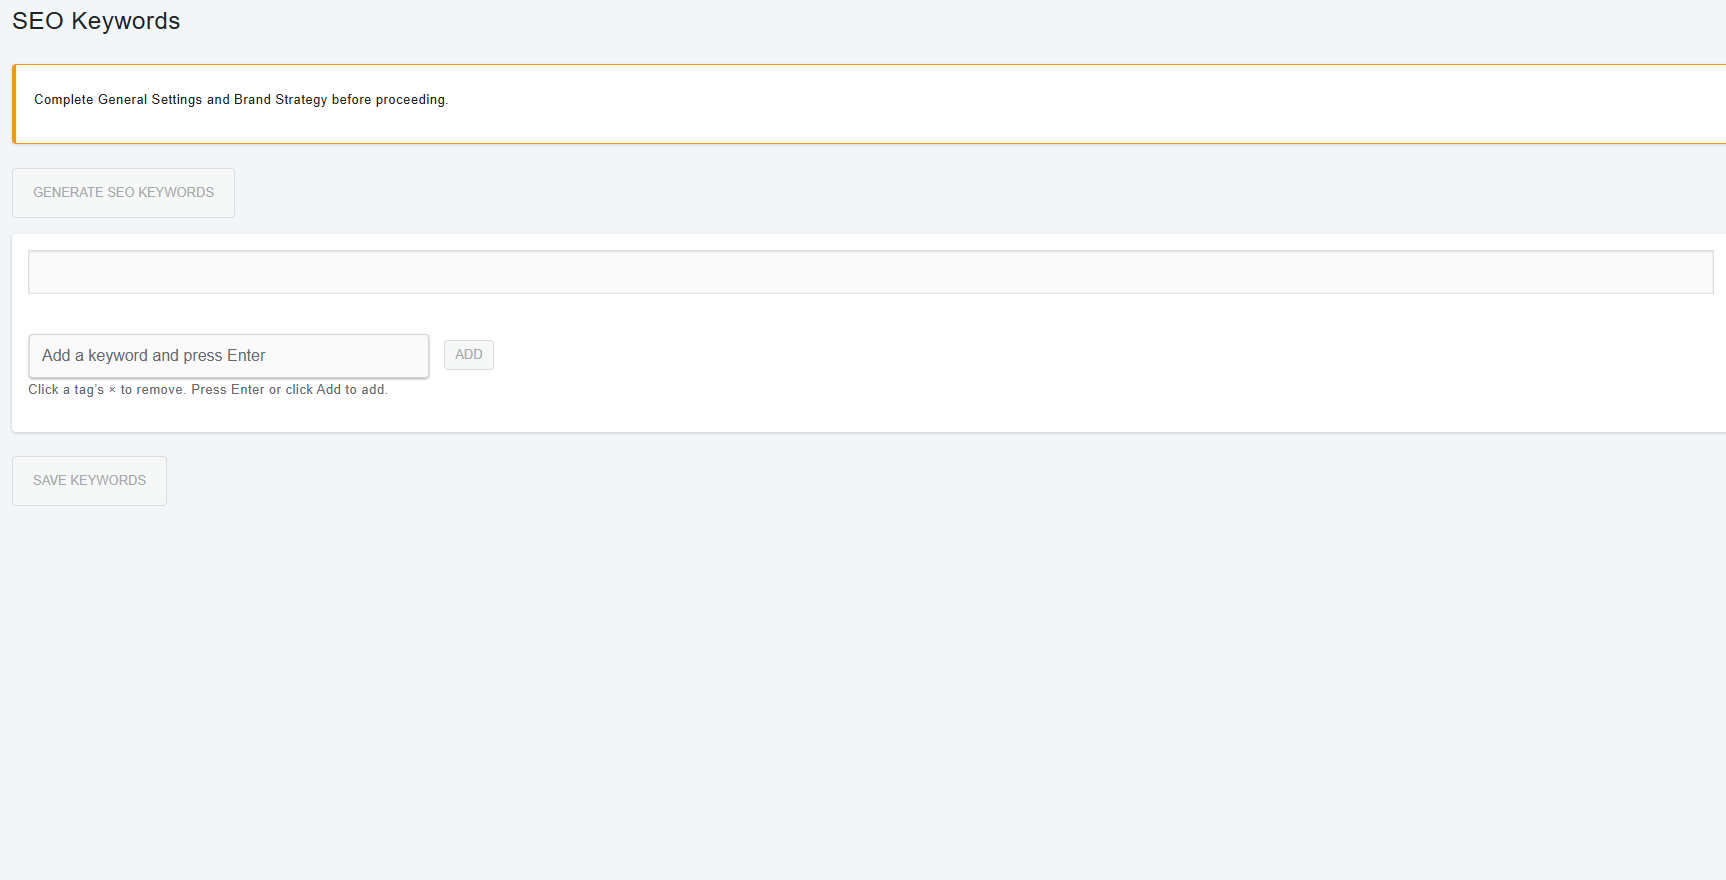
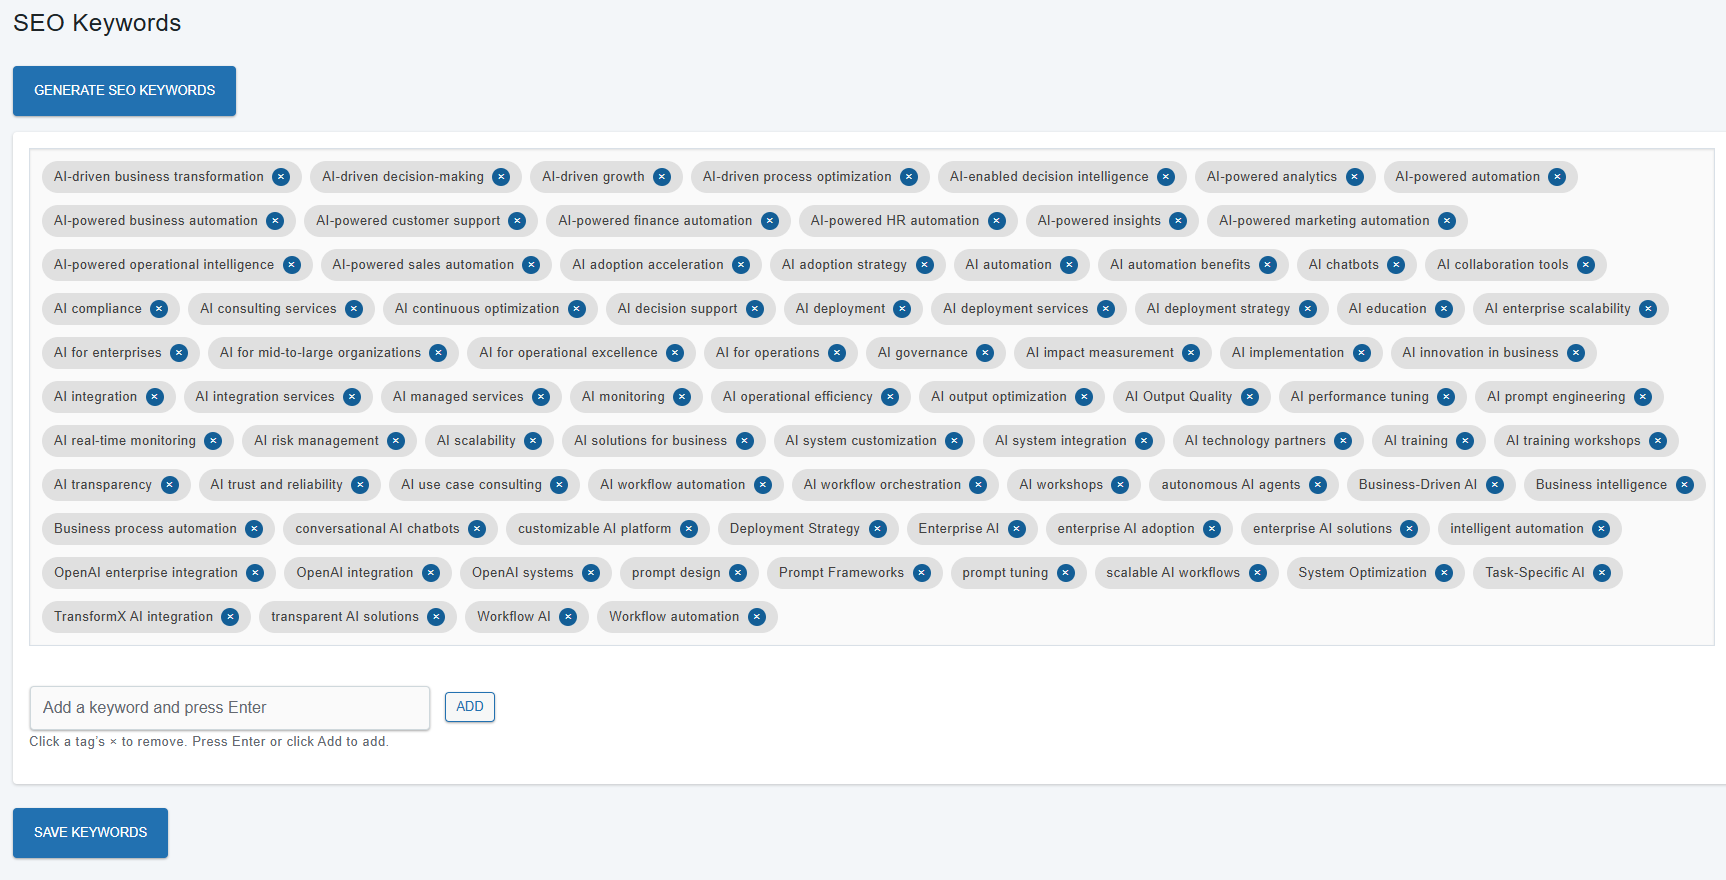
SEO Keywords
In the SEO Keywords section, click Generate SEO Keywords to automatically create a list of recommended keywords for your content. You can review, edit, or remove any of these keywords. To add your own, simply type a keyword and press Enter or click Add.
This keyword list guides the AI to focus on your chosen topics and improve search visibility. Once your list is ready, click Save Keywords to apply your changes.
Generate Posts
The Generate Posts section is where you create new, AI-generated content for your WordPress site. You can choose between automatic, manual, and suggested topic modes, customize post topics, and track the status of each post as it's generated and reviewed.
Automatic Scheduling Enabled (Daily/Weekly)
If you select Daily or Weekly in Scheduling Interval under General Settings, posts are generated and published automatically at the defined schedule. The manual Generate New Post button is disabled, and an informational message is shown.
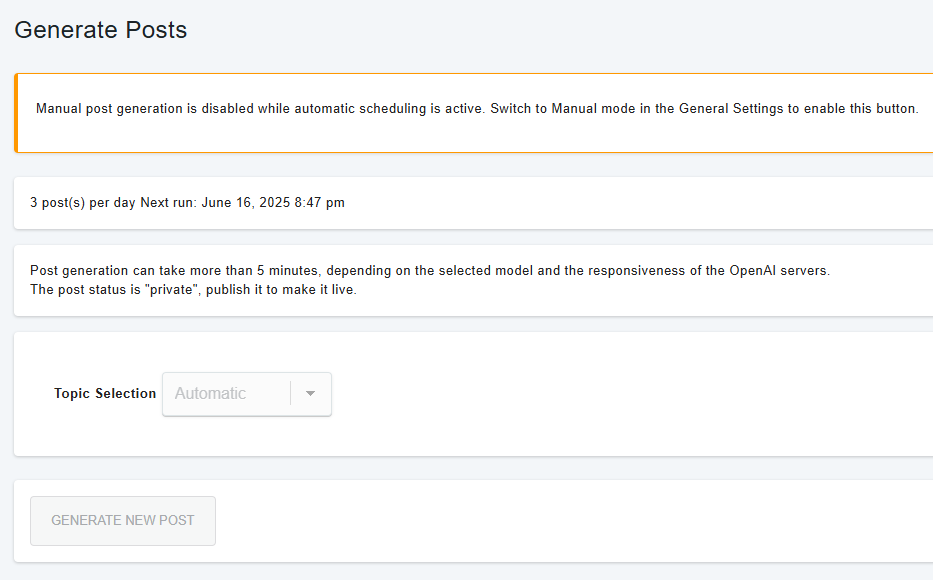
- Automatic Scheduling: Manual post generation is disabled while automatic scheduling is active. You see a warning at the top and the “Generate New Post” button is greyed out. The plugin displays the next scheduled run time and posts per day/week. No manual post actions are available while auto mode is active.
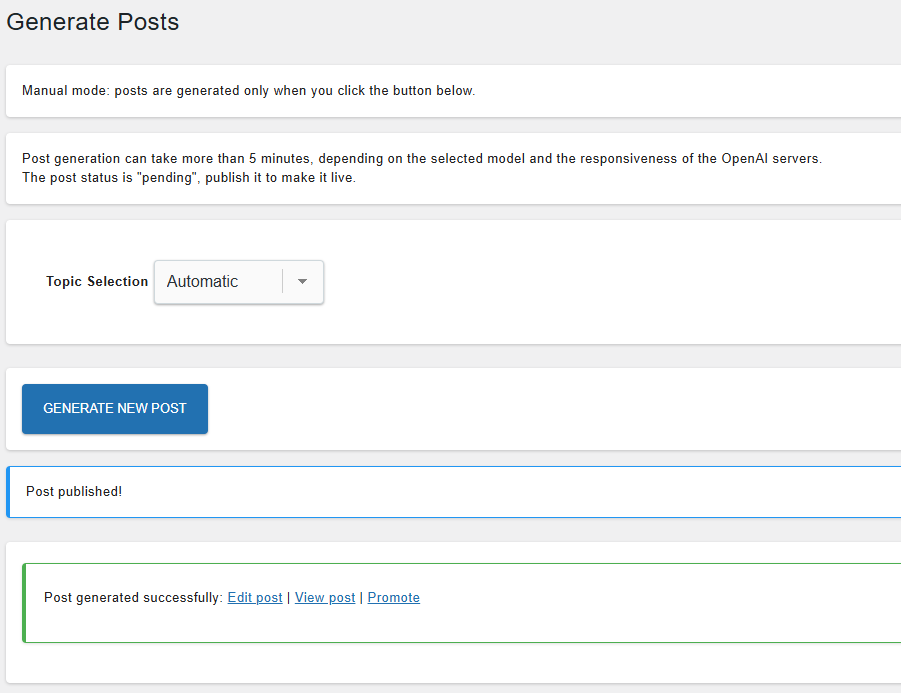
Manual mode
If you select Manual Only in Scheduling Interval under General Settings, you control when posts are created. You can generate posts instantly, and additional modes such as topic selection and keyword control become available.
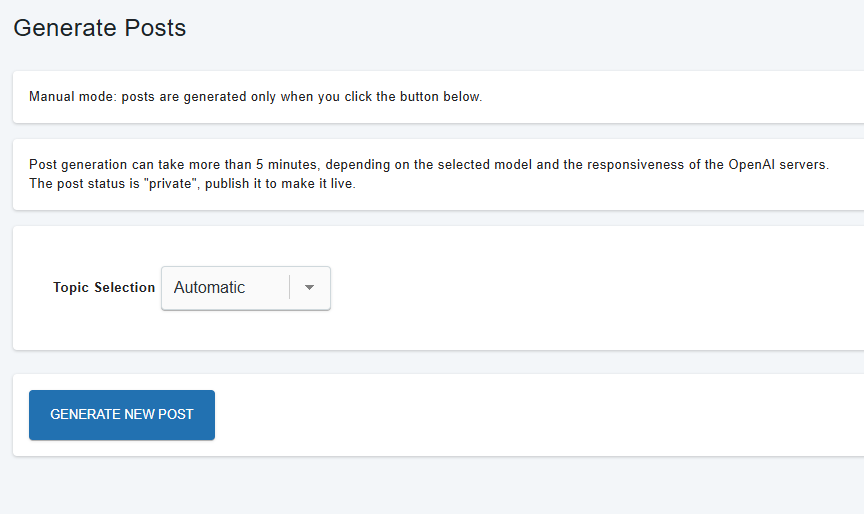
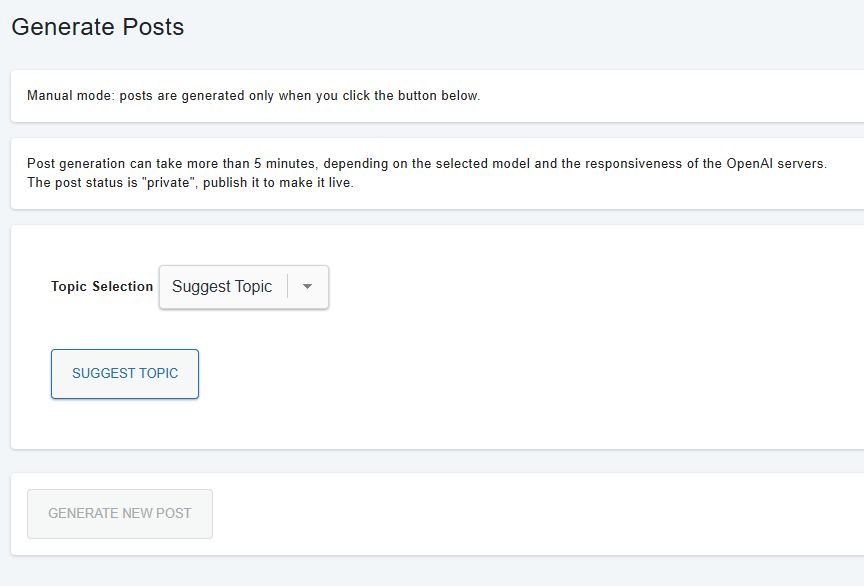
Manual mode Ready to generate a post. The “Generate New Post” button is active. Set Topic Selection (Automatic/Manual/Suggest Topic), then click the button to begin post generation. The plugin uses your content strategy and keywords to create a draft.
Suggest Topic Mode — AI Topic Suggestions
In suggest topic mode, click Suggest Topic to receive a list of AI-recommended post ideas, each paired with relevant keywords. Choose the topic that best fits your content goals and click Generate New Post to start creation.
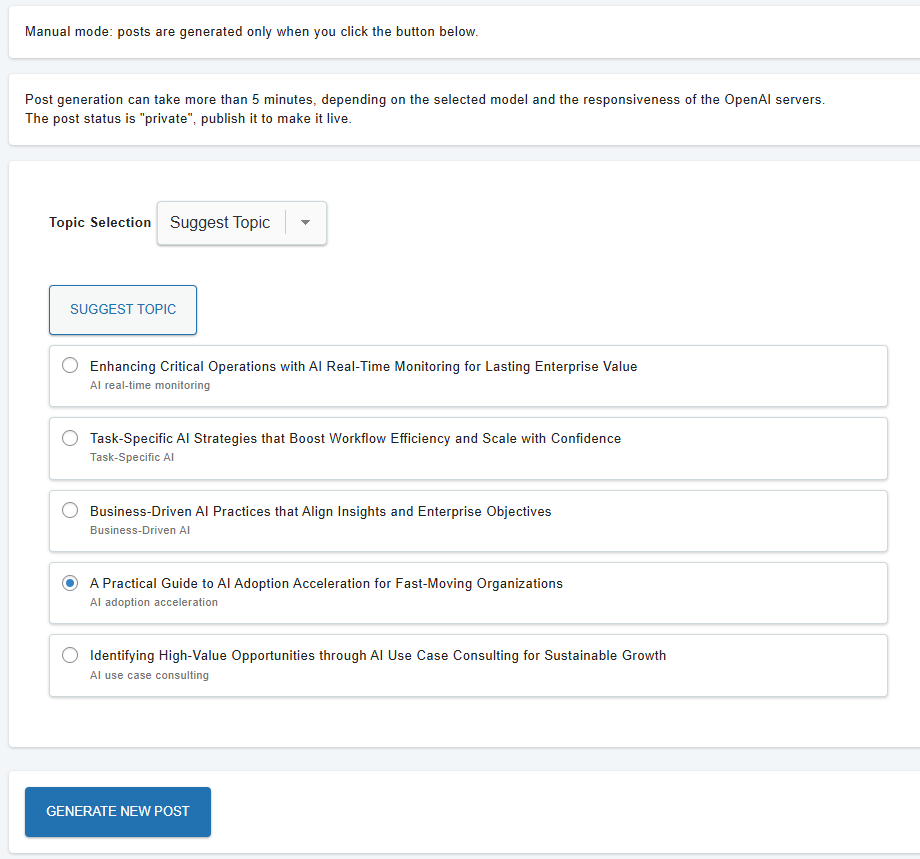
Suggest Topic Mode — List of Suggested Topics
After clicking Suggest Topic, review the AI-generated topic suggestions. Each topic includes a short description and the keywords it will target. Select your preferred topic from the list, then generate your post.
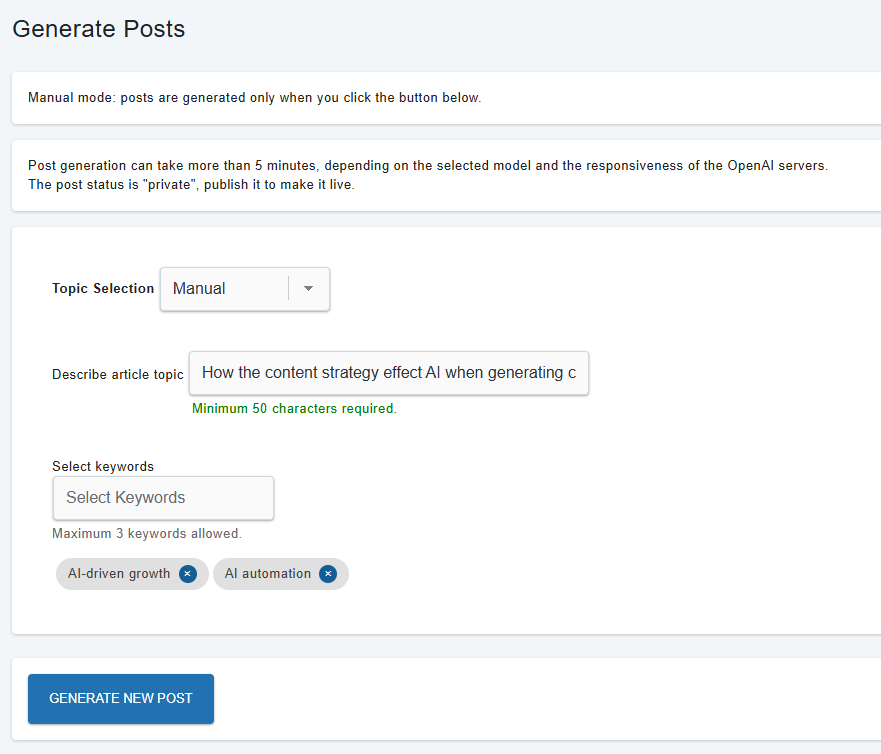
Manual Mode — Custom Topic and Keywords
When Topic Selection is set to Manual, you can enter your own article topic and select up to three keywords before generating a post.
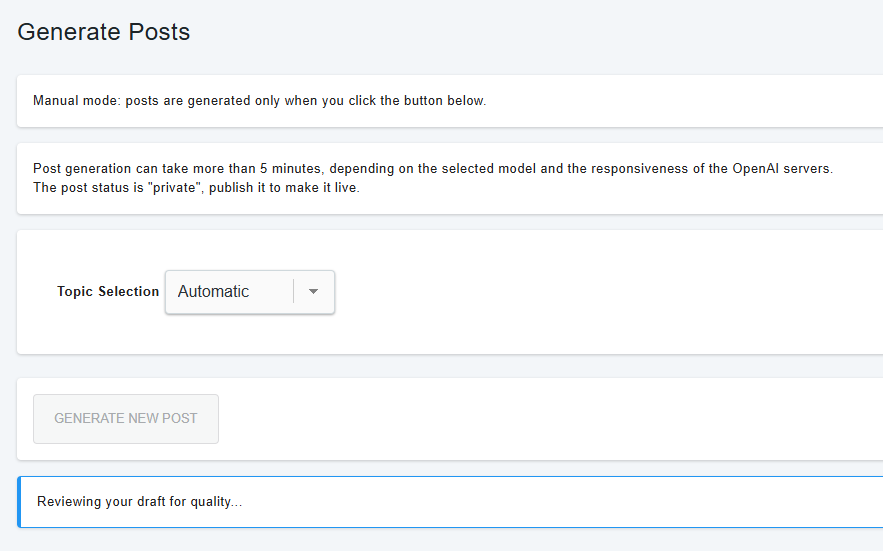
Post Generation Progress
After clicking Generate New Post, the system displays post generation status messages to indicate the progress of your post generation process. The button remains disabled while these messages are shown.
Post Generation Complete
After a post is created, you see confirmation, and direct links to Edit post, View post, or Promote your content.
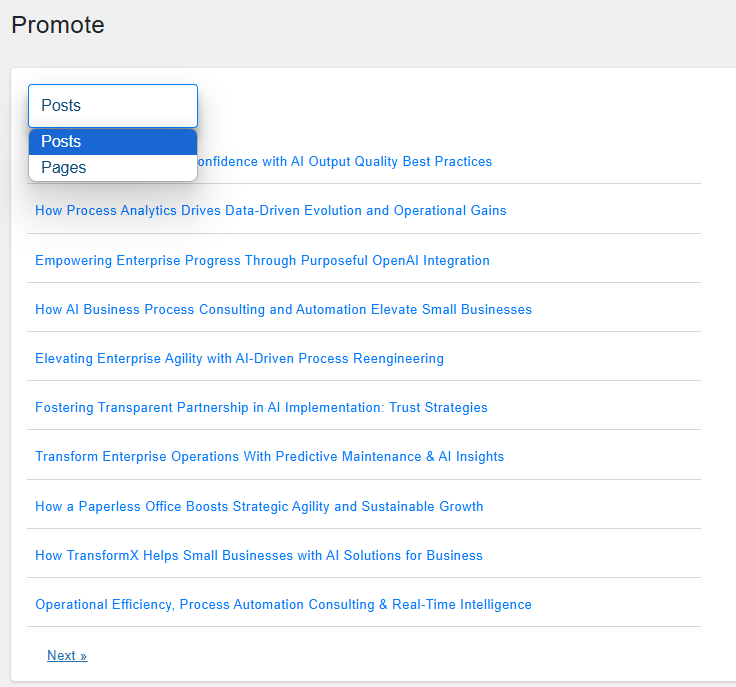
Promote Content
The Promote content page streamlines the process of turning your published content into platform-optimized social media posts. You can select posts or pages, choose the desired social network, generate a tailored post preview, and copy the result for instant use across your channels.
Select Content Type and Source
Start by choosing whether you want to promote blog posts or pages. A dropdown menu lets you toggle between "Posts" and "Pages," after which a list of published items appears. Select the specific content you wish to promote from the list.
Choose Social Network
Next, select the target social network from a dropdown menu. Supported options include LinkedIn, Facebook, and X (Twitter). This determines the format and length of the generated promotional text to suit the selected platform.
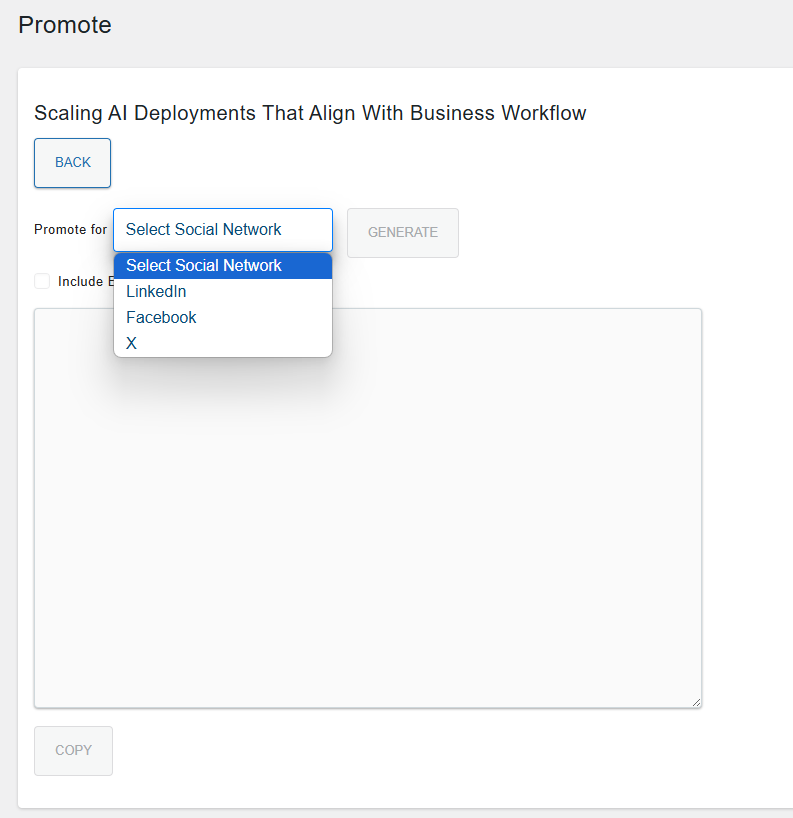
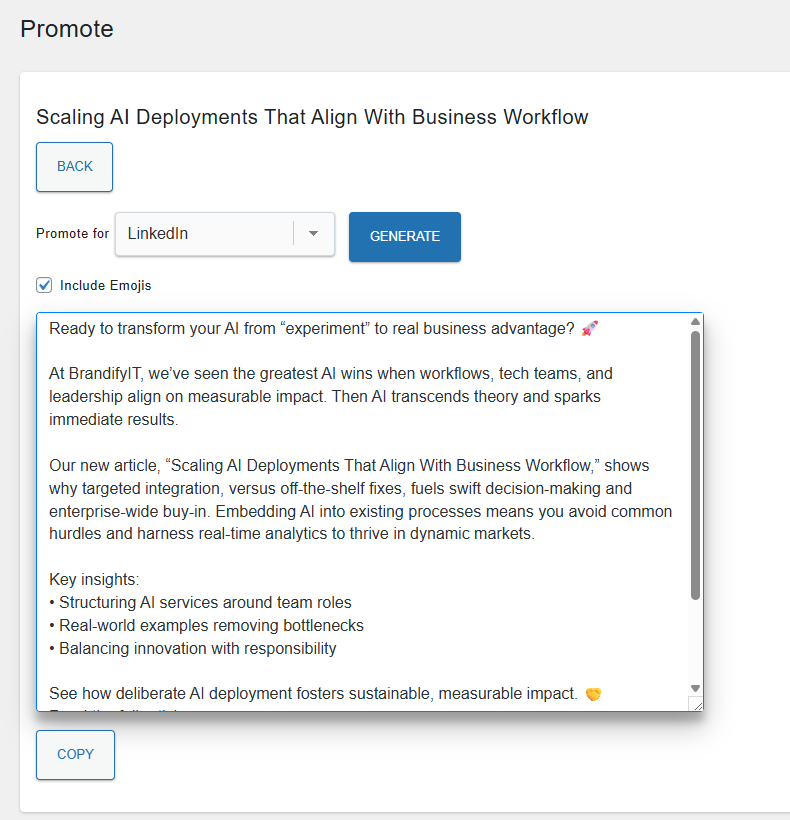
Generate and Preview Promotional Post
After selecting your content and target network, click "Generate" to automatically create a promotional post preview. The editor displays the generated text, which is tailored for your chosen social network. You can further edit the message if needed. The "Copy" button allows you to instantly copy the finalized post for sharing.
Need Help or Have Questions?
FAQ
Ready to Build Smarter,
Faster, and Easier?
While our current solution is built for WordPress, we’re actively developing similar AI-powered content automation tools for other leading website platforms and frameworks. Support for additional systems is already on our roadmap.
Stay tuned for updates as we bring the same seamless, end-to-end publishing experience to even more creators and businesses, regardless of your tech stack. If you want early access or to suggest a platform, let us know!